
Journals43
Newest
New Website
1 min read

Join the community to add your comment. Already a deviant? Log In
Chicago gallery show coming up...
1 min read


Join the community to add your comment. Already a deviant? Log In
Los Angeles gallery show coming up!
1 min read

Join the community to add your comment. Already a deviant? Log In
New Interview
1 min read
I am happy to report that I recently won a banner contest to replace the image on top of ModelMayhem.com. The site also did an interview with me to coincide with the reveal of the new banner. You can read it here: www.modelmayhem.com/education/…
Join the community to add your comment. Already a deviant? Log In
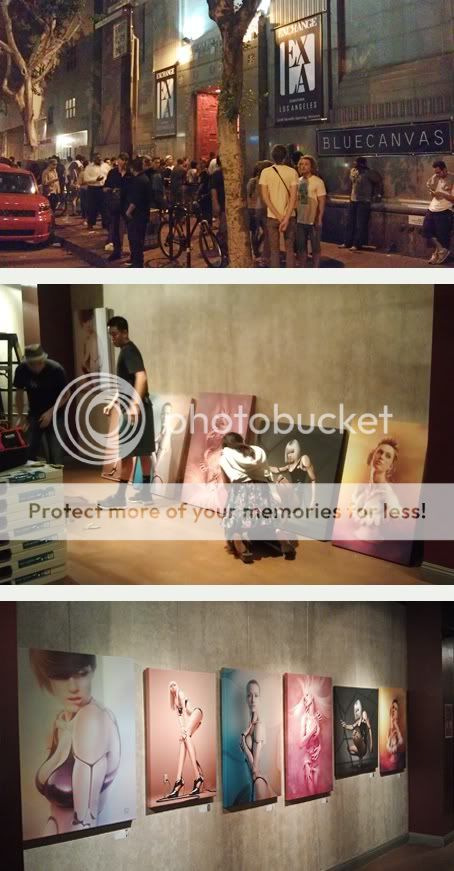
LA Gallery Show
1 min read
You missed out! The Bluecanvas Issue 10 launch party in LA was a great one. ...and the coordinators weren't kidding when they said there would be thousands of people there!
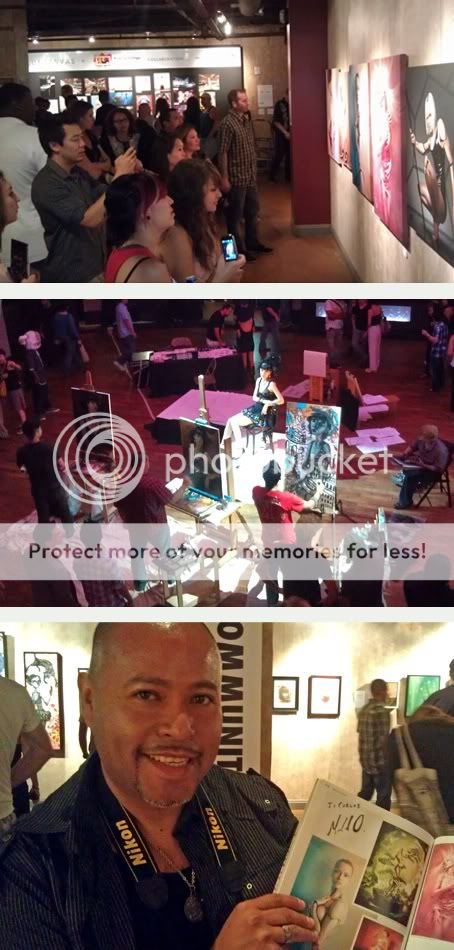
This was the first time someone asked for an autograph so i had to take a photo!

I highly recommend that you sign up at BlueCanvas www.bluecanvas.com/ It's a very active and high quality art community. Plus, there's always a chance that you could be featured at their next launch party!
Join the community to add your comment. Already a deviant? Log In